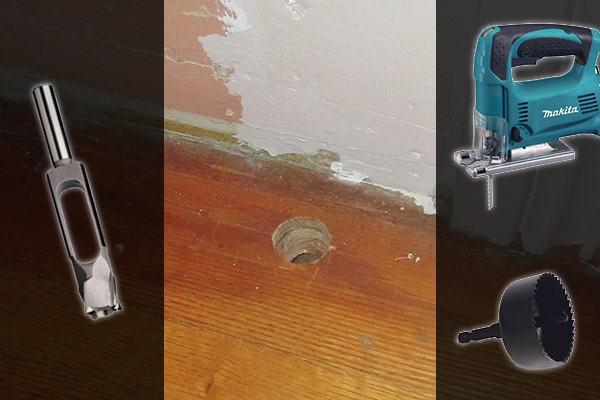
Last year we had to move some of our baseboard radiators around as we moved some interior walls in our home.
At the time, we didn’t consider the 1 1/4″ hole that would be left behind where the water supply pipe used to be. It’s pretty unsightly, as you can imagine.
I’ve used two methods for creating a plug to fill this hole, and recently discovered a third method that probably takes the cake.
Regardless of the method you choose, the first step is to find a plank of matching flooring to create your plug from. If you don’t have any scrap or extra flooring, head over to your local lumber supply to purchase the smallest possible and closest matching board.
The thickness of the board doesn’t matter too much as the plug you create only has to be flush with the visible floor (the part you walk on). The underside of the plug can protrude down below the floor a bit.
After you create the plug, it may make sense to stain it to match your flooring before you pound it into the hole.
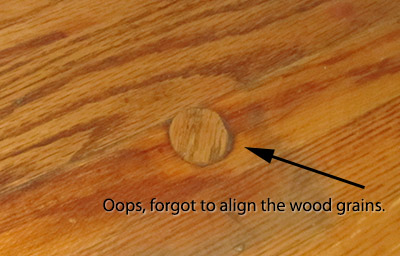
As final note, before we get into the cutting methods, make sure you align your plug properly with the direction of your floor’s wood grain before driving it into the hole. Otherwise, you end up with something like this:
Method #1 – The Jigsaw
If you’re using a jigsaw to cut the circle, you’ll first want to draw the circle on the board so you have a guide to follow with the saw. Use a small section of the pipe that you removed to create the circle.
Whatever you use to make the circle, you’ll want to ensure that the plug is just a touch larger than the hole.
Then, make the cut. Test out your plug by trying to tap it into the hole lightly with a rubber mallet. If it doesn’t fit, shave off a millimeter from the circumfence of the plug with a mouse sander, then try again.
Method #2 – The Hole Saw
The hole saw method works great if you happen to have a hole saw that is about 1/8 inch larger then the plug that needs to be created.
Since a hole saw is designed for making holes in wood, rather than creating plugs, you need to make sure that the hole saw inside diameter is equal to or just a slight bit larger than the plug that you need to create.
Use the hole saw to drill into your scrap board, then remove the wood (plug) from the hole saw and sand it down a bit if needed.
Method #3 (recommended) – The Plug Cutter
A plug cutter is very similar to a hole saw, with the exception that the dimension listed will be the diameter of the plug, instead of the hole.
Similar to a hole saw, you would drill into a matching piece of wood. But then use a screwdriver or other flat edge tool to pry the plug out of the wood.
You might find that a plug cutter set actually makes more sense to purchase, as you may find other uses for wood plugs in your other projects.
This is more easily explained with a video. This one is my personal favorite because it’s only a minute long:
The video demonstrates using a saw to remove the top portion of the plug. Since you’ll be doing this on a finished floor, I’d recommend avoiding the saw and simply using a rubber mallet to drive the plug in until it’s flush.