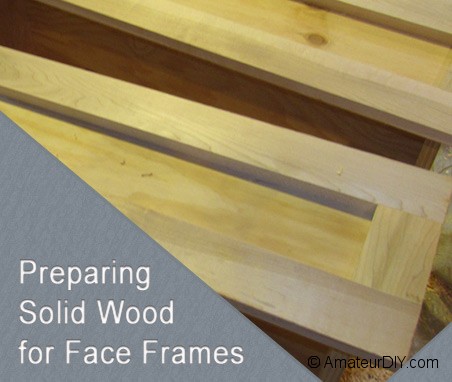
As I started detailing the process to build the headboard and footboard for a platform bed, I realized that the same techniques would be used not only on the bed drawer faces, but on countless other projects. So, I decided it best to create a separate post to go through the three-step method I use to prepare solid wood for use in face frames.
There are two popular methods used in “storage-type” woodworking projects, face frame and frame-less. Frame-less is the look you see in many kitchen cabinets, but is more often associated with industrial-type cabinets found in hospitals and other industries. They can be cheaper to produce, as the solid wood required for a face frame is removed from the project cost. Essentially, you have a box and door/drawer to fill the inside width and height of the box.
Face frames, on the other hand, give a certain “dimension” to wood projects and add stability via the solid wood frame. I use the face frame approach in just about all of my work. To do it right though, you need 3 pieces of equipment which typically aren’t found in the average homeowner’s tool closet:
- Jointer
The jointer will give you a straight edge. Very few boards that I purchase from the lumber store have one perfectly straight edge. The jointer works well for this. I couldn’t spare the expensive of a commercial jointer, so I purchased a table-top one for about $300.The jointer is not strictly necessary though. You can always use a circular saw guide to cut one straight edge on a board. The jointer typically does this faster, and with less waste – so purchase one when the time is right, but know that you can live without it. - Table saw
Once you have a straight edge, you can rip your boards to the proper width on a table saw. I usually add an extra 1/8″ to the ripped width (explained next).As with the jointer, the table saw is not strictly necessary. I’ve made due before with a circular saw and track guides, or even just by clamping down another straight board as a guide. As long as you keep a little extra on the thickness, you can let the thickness planer “straighten it out” for you. - Thickness planer
Believe it or not, I consider the thickness planer more valuable than either of the above. The table saw and jointer can be replaced with a circular saw, clamps and a guide. But, there’s really no good replacement for a thickness planer.The planer will remove those table saw marks from your ripped boards and ensure that all of your boards are of the same width and thickness. If you save a little money and purchase rough-sawn lumber, you’ll find that the thickness planer also makes pretty quick work of removing the rough edge.
Using the tools and methods above, to prepare a rough-sawn board for use in a face frame:
- Use your jointer or circular saw & guide to create a straight edge on one side of your board.
- Rip your board to width + 1/8″ using a table saw (or circular saw / guide)
- Thickness plane your board down to the exact width needed
Example: I want to create a frame with 2″ stiles and rails (the horizontal and vertical pieces, respectively). I’ll choose a 7-1/2″ board, knowing it will safely provide me with 3 ripped widths of 2-1/8″ if I include 1/8″ for the thickness of the saw blade. I’ll have a little waste, but not much.
I first use my jointer to get a straight edge, than pass the board through my table saw (set at 2-1/8″) three times to get three boards. After that, I’ll start my thickness planer at 2-1/16″ inch, then pass all of my boards through. Then, I’ll move it down to 2″ and proceed to pass all boards through again.
Many times, when using the thickness planer, you’ll need to make a few passes on each board, reducing the thickness with each pass. Remember to run all your boards through one thickness level before moving on to the next thickness level. This will ensure that all of your boards are planed down to the exact same final thickness.
Except for the table saw, I use the products shown below in my workshop. I rip boards on a 30 year old cast iron table saw that I’ll never get rid of!
Keep in mind, if you do end up purchasing a more portable table saw, you’ll want to consider an outfeed table to support your boards as your rip them. Otherwise you’ll be playing seesaw against a table saw blade, and you will lose!
Once you have this process down and have your wood prepared for joining, check out our post on pocket hole joinery for a low-cost solution to fastening your face frames together with very little effort.