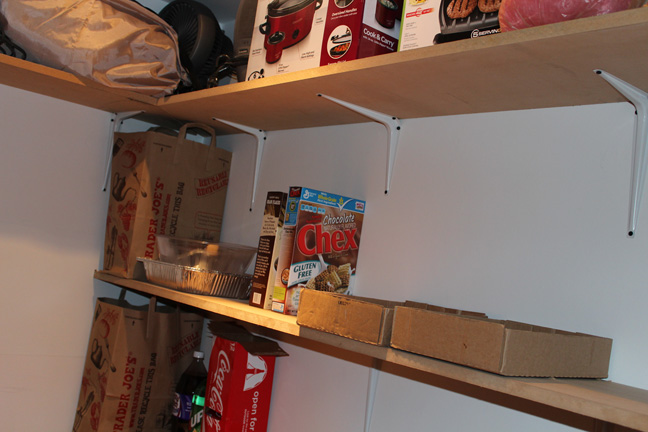
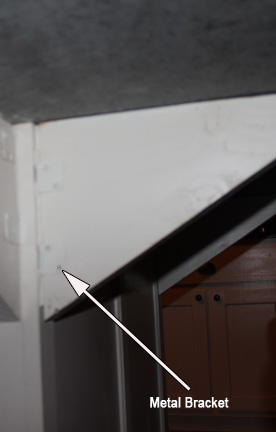
I’ve installed shelving using two different bracing methods, each having their pros and cons. The first method uses factory-made metal utility shelf brackets, the other, homemade wood shelf brackets.
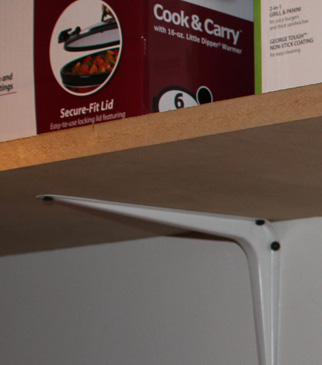
The advantage to the metal utility shelf brackets is that they consume less space (if you use the cheaper ones) and they’re typically more aesthetically pleasing.
Homemade wood brackets consume more space, but are typically stronger than their factory-made metal counterparts (unless you use the more expensive metal brackets with an angled support bar).
 Wood Shelf Brackets
 Wood Shelf Brackets
To create wooden brackets, purchase an appropriately sized two-by piece of lumber from your home improvement store. If you’re putting up 14″ shelving , purchase a 2×12. The amount of lumber you need will depend on the number of brackets you need. Using a 2×12 for an example, if you need 10 brackets, you’ll need about 5ft. of lumber. Since you’ll be cutting triangles, a single ft. of board will create two brackets.
Use a miter saw to make alternating 45 degree and straight cuts until you have enough brackets. If you don’t have a miter saw, grab an angle finder for about $10.
To hang your homemade wooden brackets properly though, you’ll need to pick up some metal joist hangers. These essentially “cup” the wood bracket and provide tabs on the side which you can drill into.
Hanging Brackets
 In either case, metal or wood brackets, you’ll have to find a stud to screw into to support the weight of the shelf contents. Once you start driving your first screw, it may hit you that a stud is only 1-1/2″ wide and the screws on the metal brackets are about 1-1/4″ apart. The holes on the joist hangers are even further apart.
There are a number of tricks to dealing with this, but the one I like is simple, drive your screws at an angle towards the stud. You can get away with using a standard 1-5/8″ drywall screw for the metal brackets. But, for wood brackets that require joist hangers, I’d suggest using at least a 2-1/2″ screw to cover the greater distance and ensure a strong hold. Just be very wary of any wiring that might be behind the walls when using longer screws. The reason drywall screws are 1-5/8″ is because that’s typically a length that won’t poke into a wire that runs through the middle of a joist.
Once you have the brackets attached to the wall, you’ll need to drive screws up through the bracket, into the bottom of the shelf. You’ll need to go through bottom of the shelf to ensure that the screw head has good contact with the bracket. If you only have drywall screws available, and they end up sticking through the top of the shelf, you can knock the tips off with a hammer, the screw will snap fairly easily after a couple light blows with the hammer.
Shelf Material
For utility shelves, I use MDF board. It’s cheap and has a nice smooth surface that’s easy to paint. It also doesn’t expose an unsightly rim of individual plies around the perimeter of the shelf piece. Though, If you’ve ever need to wear a dust mask while cutting, this is the material to use it! MDF creates an enormous amount of dust when cut.