The technique I used to build the frames that finish the headboard and footboard is called pocket hole joinery. If you haven’t used this method before, it would make sense to quickly review the link to get a feel for how it is used to fasten solid wood boards together while keeping the fasteners hidden. This method will not only be used for the headboard and footboard, but also for the drawer fronts.
Traditionally when you work with face frames, you rip “channels” into them, then slide a panel in place, to create the effect seen on most kitchen cabinet doors. In this case, I decided to go for a different look, one that involves simply overlaying the entire face frame on top of a panel (as opposed to placing the panel between the frame stiles and rails). This method is not only visually appealing on large frames, but also keeps the project at a beginner level by not involving the use of a router to create the channel.
If this is your first project, you might consider using a lower-cost solid wood and give it a coat of paint, as opposed to staining a more expensive wood. I suggest this for three reasons:
- If you make any mistakes, the cost of the mistake is reduced.
- Stained work demands a higher quality outcome, as you can’t depend on wood filler to correct any gaps in joined pieces. Although many wood fillers boast that they are stainable, it usually doesn’t look seamless with the wood grain.
- If you don’t have the full set of tools and need to finish nail through the face of the hardwood, you can use wood filler to fill the holes left by the nails, then paint over it.
In my area, poplar is relatively cheap and paints really well. The price point might be oak, birch or maple, though many have a difficult time painting over the nice grains offered by these species.
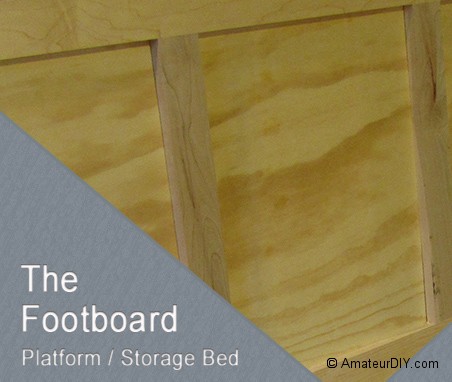
FOOTBOARD
The footboard will consist of a face frame and a plywood backer panel.
- Prepare, then cut your face frame parts. The finished width of your face frame should be the full width of the bed frame, including the plywood finish sides. If you are unfamiliar with how to prepare solid wood boards for face frame construction, see this post: Preparing solid wood for use in face frames.
- Join your pieces together with pocket hole joinery, as discussed in the opening of this post. Note that the pocket holes should be drilled into the stiles, or vertical pieces. You typically find that pocket holes are drilled parallel to the grain of the wood.
- Cut the plywood sheet to the height of the frame (same as the height of the plywood sides), and to the width of the finished frame minus the finished sides. Basically, the width of the backer panel should be: bed width – 1-1/2″ (since each plywood side is 3/4″ thick). This will allow you to place the plywood backer panel inside the finished sides, hence concealing the plys shown on the sides. This will also allow the finished face frame to conceal the visible plys on the finished sides. The picture’s below should help to reduce the confusion!
- Attach the face frame to the plywood backer. You can use a biscuit joiner and biscuits if you have them. Or, you can use 1-1/4″ wood screws, screwed into the plywood backer, and through the back of the face frame. Using 1-1/4″ screws is just long enough to hold, but not long enough to poke through the face frame.
- Once the bed is in its final location, you can attach the footboard with pocket hole joinery, or finish nail it if you don’t have a pocket hole jig. We’ll demonstrate this later on in the project.

